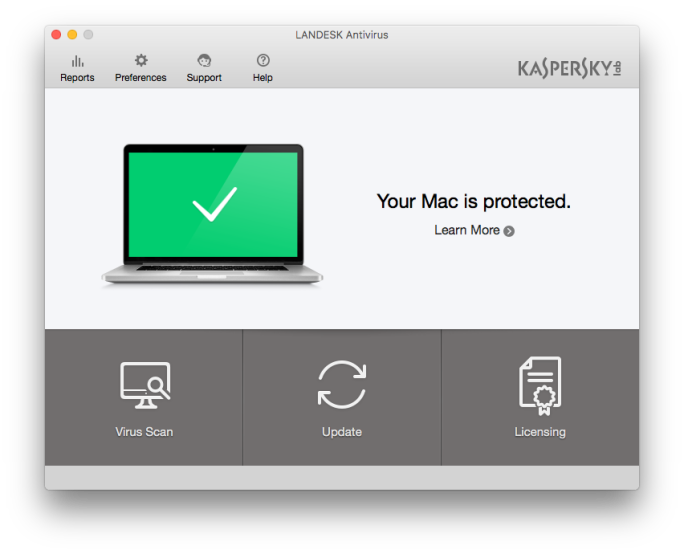
I recently updated to LANDESK Management Suite 2016 SU5 so I could receive the needed AV support for macOS Sierra.
When my Mac agent updated, it automatically updated LANDESK AV from version 8 to version 10, which was nice. It was after this update that the LANDESK AV window popped on my Mac client letting me know my license key was about to expire.
To remedy this, I obtained my updated license key and updated my core server with the new AV license following this how-to guide.
By design, forcing a security scan on the client should cause the machine to pull the updated license file from the core. However, my machine was being stubborn and would not pull the newly applied license. Rather than troubleshoot the process, I figured it would be quicker to write a script to download it and apply it. I figured having a package to push out would be more efficient in the long run if I had more than one machine that wouldn’t update its license file.
The entire script is very short. There are two variables, one for the source file location and the second for the copy to destination location. There are also two actions, one to download the file and the second to tell AV agent to update its license. I’ve uploaded my script to GitHub; you can download it here. For ease of discussion, the entire script is available below.
#!/bin/sh

# LDAVLicenseInstall
# Created by Bennett Norton on 9/21/16.
# This script will download the latest LANDESK AV license key and apply it


#Script Variables
#change the IP address to match your core server IP address
fileToCopy="http://192.168.29.13/ldlogon/avclient/install/key/ldav.key"
destinationLocation="/Library/Application Support/LANDesk/sdcache"


#sdclient downloads the license key and the kav addkey applies the key
/Library/Application\ Support/LANDesk/bin/sdclient -noinstall -package "$fileToCopy" -destdir "$destinationLocation"
kav addkey "$destinationLocation"/ldav.key
The only thing you need to do in your version of the script is to update the fileToCopy path with the appropriate IP address. You shouldn’t need to adjust anything else. SDClient is downloading the key from the ldlogon/avclient/install/key folder; which should be the same for everyone. You can change the destination location if desired, I’ve put it into the standard sdcache folder so it’ll get purged in 45 days.
fileToCopy="http://192.168.29.13/ldlogon/avclient/install/key/ldav.key"
Again, as mentioned in previous posts, save this file as a .sh file and set the execute permission on it by running the command below.
sudo chmod +x /path/to/script.sh
Once you’ve set the execute permissions, copy the script to your package repository and create a LANDESK Software Distribution package to deploy.
Creating LANDESK Management Suite Mac Packages
- Open the LANDESK Console
- Navigate to the top menu bar, select Tools > Distribution > Distribution Packages.
- In the lower left menu tree, highlight My Packages or Public Packages from within the Distribution Packages window
- On the Distribution menu bar, press the New Package button and select New Macintosh Package.
- Give the package a name
- Provide a description as well as any metadata information desired
- Set the primary file to the script file you previously transferred to your package share
- Fill out the Metadata details if desired, specifically supplying a logo so it shows up properly in the portal
- Save the package
Creating a Scheduled Mac Software Distribution Task
- Right click on the Mac software distribution package created and select Create Scheduled Task
- From the network view, select and drag the desired machine(s), user(s) or query(ies) and drop them onto the task
- Now, right click on the task and select properties
- Set the desired Task type under Task Settings as to whether you want a push, a policy or a hybrid of the two types in a policy-supported push
- Set the radio button in the Portal Settings to either Recommended or Optional if you desire to put the package into Workspaces. If you’d like to automatically deploy the app, select Run automatically
- Change the Reboot Settings or Distribution and Patch settings if desired
- Set the schedule task settings with the appropriate start time


Recent Comments